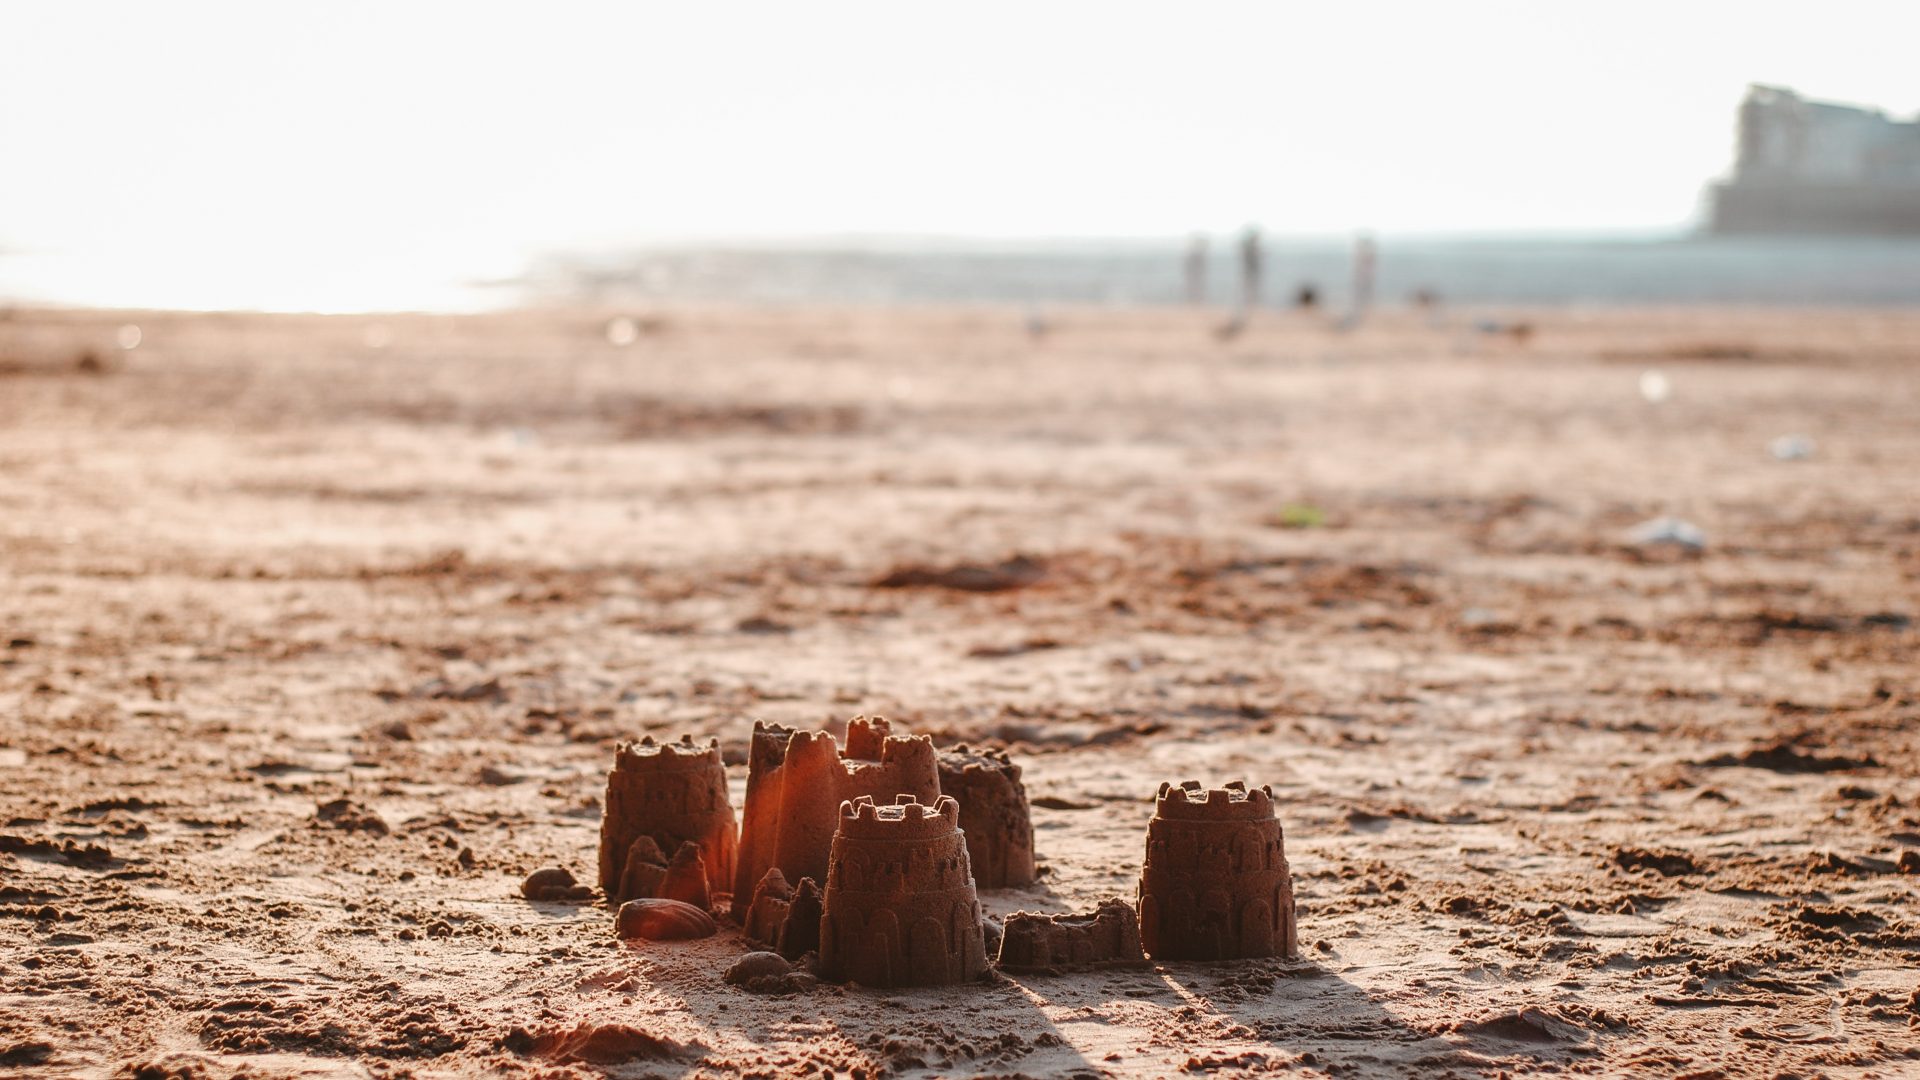
How to build the perfect sandcastle with your children
Surprisingly, considering how much energy that children have, their biggest highlight when reaching the beach is waiting to build their ultimate sand castle. Taking the patience and time to build up all that damp sand and then create a masterpiece that’s taken hours to put together. Sometimes though, it doesn’t quite go to plan and instead, it ends up looking a bit like a large lump of sand with no real structure. Building a large sand castle is a great way to bond as a family and you can take in these tips to take your sand castle creations to the next level.
Design Your Sand Castle First
If you’re all really up for it and see it as a little project before you head to the beach, why not bring the family together to put their ideas across before you head down there? Have a brainstorm on how you want it to look and consider creations you may have seen in the past. Maybe you have an idea from a movie or a book that you used to read as a bedtime story. Would you want the sand castle to have any features or anything surrounding it on the outside? There’s plenty of ideas you can put together before you head down there, so put some pen to paper and draw a creation that you can go off. Alternatively, you could get everyone to draw their ideal castle and see how you can merge them all together.
Take The Right Equipment
A benefit of having a drawing of your final design is that it’ll make it easier for when you pop to the shop to purchase buckets and spades. It’s unlikely you’ll be able to create a masterpiece with your bare hands, so get a little help on the way. For the little ones, get your traditional plastic bucket and spades so they find it easy to carry and get tired easily. Perhaps for yourself, you can purchase a wooden one so it’s less likely to snap if you’re carrying more the sand. You’d also need two buckets so you can work more efficiently, this way you can use one bucket to carry the water and the other to mix the sand and water. If you’re extremely serious about the creation, you can use simple kitchen tools to carve and mould your creation. Anything from pastry knives to spatulas can help to perfect a well-created sandcastle.
Create Decorations
The creation process starts as soon as you leave the house. Think about the creative side of it and what decorations you want to be displayed on it. Do you wish to have a flag on top of the sandcastle once you’ve made it? Perhaps more than one? Are there any sea shells that you want to put on the outside of it that can help to decorate bridges or rivers? The possibilities are endless. Look for all kinds of materials that make it a colourful design. On the way to the beach, give your children a box they can use to collect anything on the way or even when they’re at home. Just be sure to take anything back home that could potentially be valuable.
Build the sandcastle
Once you’re equipped with everything you need, it’s time to build! As soon as you get to the beach, it’s all about picking a prime location to set up the sandcastle. You want it close to the water but far away from being knocked over by a tide. Once you have the location, the next step is to build a base for your castle so it’s secure. Next is mixing the sand with the water, making sure you get the right balance of both so that it’s easier to mould and sculpt. It’s suggested that you use one part water to one part sand. Along the way, you need to build towers along with any doorways or paths that you want the sandcastle to have. Then once you have the structure, finally you’re ready to carve in the design. Use the kitchen tools that you bought and be sure to carve slowly and take your time before adding the directions that you collected.
Taking in all these steps will help to make the sand castle of dreams that you can sit back at and admire. Just remember that with all the effort, you take a picture of the sandcastle at the end. Otherwise, all that hard work will go to waste.


